Timber Deck Maintenance: Keeping Your Melbourne Deck Looking New
Protect your deck investment with proper maintenance. Seasonal care, oiling schedules, and repair tips for Melbourne's timber decking.

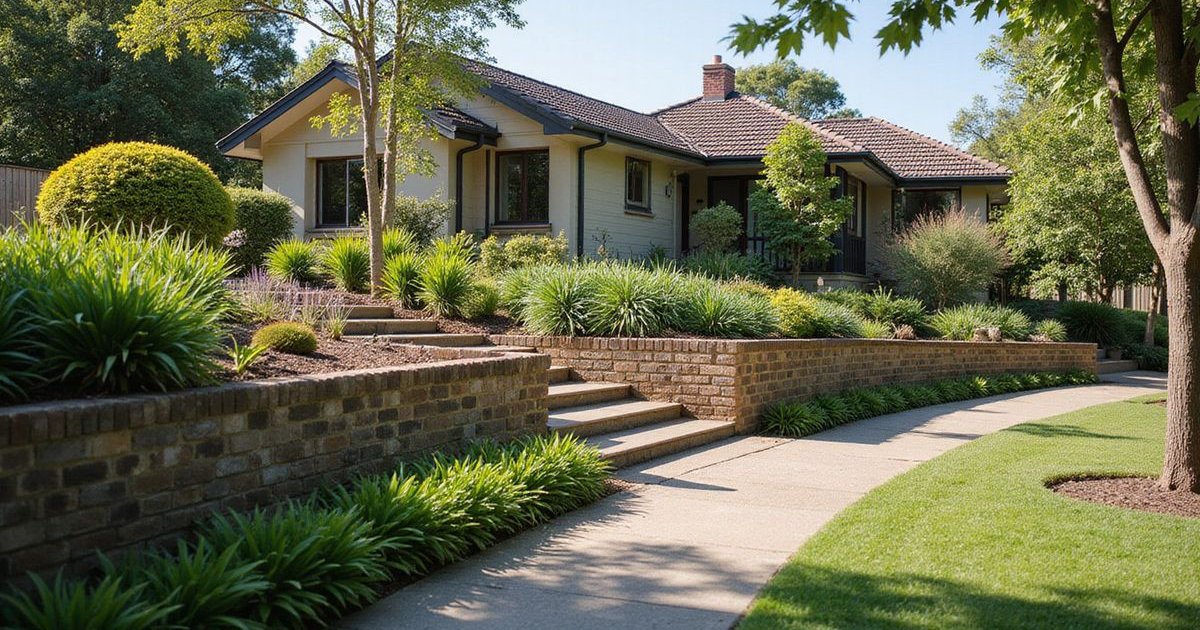
To ensure your timber deck survives Melbourne’s notoriously variable weather, you need a strategy that goes beyond a quick sweep. Our team at John French Landscape Design has spent over 40 years designing and maintaining outdoor spaces across Melbourne, and we’ve seen exactly what happens when local weather meets unprepared timber. From the scorching UV rays of January to the damp, grey frosts of July, each season presents a unique threat to your deck’s longevity.
Here is the practical, data-backed approach we use to keep timber decking looking pristine. Our paving and decking expertise ensures your deck is built to last from day one.
Understanding Your Timber
The first step in effective maintenance is knowing exactly what you are walking on. Different species have vastly different densities and durability ratings, which directly impact how often they need attention.
Common Deck Timbers in Melbourne
Spotted Gum This is often our top recommendation for local homes due to its incredible resilience.
- The Stats: It boasts a Janka hardness rating of approximately 11.0 kN and a Class 1 durability rating.
- Why it matters: This density makes it naturally fire-resistant (suitable for BAL-29 areas) and capable of lasting 40+ years above ground with proper care.
- Maintenance Note: Its high density means it absorbs oil slowly, so multiple thin coats are better than one heavy application.
Merbau You will see this deep red timber in backyards from Kew to Brighton because it is readily available and reliable.
- The Stats: Another Class 1 durable timber, but with a high tannin content.
- Why it matters: Merbau is famous for “bleeding.” If you don’t weather it properly before the first oiling, these tannins can leach out and stain your surrounding pavers or concrete permanently.
- Pro Tip: We always recommend a “bleed out” period of 6-8 weeks or a chemical tannin remover before applying the first coat of oil.
Blackbutt This native Australian hardwood is prized for its blonde, neutral tones that suit modern architecture.
- The Stats: A Janka rating of roughly 9.1 kN.
- Why it matters: While durable, it can show surface checks (small cracks) more easily than Spotted Gum if it dries out.
- Action: It requires strict adherence to oiling schedules to prevent silvering, which happens faster on lighter timbers.
The Maintenance Schedule
Timing is everything when you are fighting the Victorian climate. We have found that following a strict calendar based on local seasons prevents the need for costly restoration later.
Monthly Tasks
- Sweep away leaf litter, especially after strong northerly winds.
- Clear debris from the gaps between boards to prevent moisture traps.
- Move pot plants or furniture slightly to prevent permanent water rings.
- Check for “cupping” (boards curling at the edges), which indicates moisture imbalance.
Quarterly Tasks
- Wash the deck with a specialized deck cleaning solution (more on this below).
- Tighten any raised nails or screws that may have worked loose due to thermal expansion.
- Inspect for early signs of mould, particularly in south-facing shaded corners.
- Trim back overhanging branches to reduce debris and bird droppings.
The “Spring & Autumn” Rule (Annual Tasks)
Most homeowners make the mistake of oiling in summer, but that is actually the worst time to do it.
- Best Time: October/November (before the heat hits) and March/April (before the winter rain).
- Why: Decking oil needs a moderate temperature (15°C-25°C) to cure properly.
- Risk: If you oil on a 35°C Melbourne day, the solvent evaporates too quickly, leading to a sticky surface that peels within months.
Cleaning Your Deck
Many people assume a high-pressure hose is the best tool for the job, but we strongly advise against it. blasting timber with high pressure tears the wood fibers, leaving them “furry” and more susceptible to rot.
The “Sodium Percarbonate” Secret
Professional restorers often use a specific chemical compound rather than expensive branded “deck cleaners.”
- The Agent: Sodium Percarbonate (the active ingredient in products like Napisan).
- Why it works: It kills mould spores and lifts grime without bleaching the wood fibers white like chlorine bleach does.
- The Ratio: Mix approximately 2 cups of generic sodium percarbonate into a bucket of warm water.
- Method: Apply it, keep the deck wet for 15 minutes (do not let it dry), scrub with a stiff bristle brush, and rinse thoroughly.
Deep Cleaning Steps
- Clear the deck: Remove all furniture, BBQ units, and potted plants.
- Apply solution: Use a watering can or garden sprayer to distribute your cleaner generously.
- Scrub thoroughly: Work in the direction of the grain to lift dirt from the timber pores.
- Neutralize: This is the step most DIYers miss. Apply a deck brightener (Oxalic Acid) after cleaning to neutralize the pH and prepare the wood to accept new oil.
- Dry Time: Wait at least 24-48 hours before applying any oil.
Oiling Your Deck
Choosing the right product is just as important as the application method. We generally categorize oils into two types: Traditional Water-Based and Penetrating Oils.
Product Comparison Table
| Feature | Water-Based (e.g., Intergrain UltraDeck) | Penetrating Oil (e.g., Cutek Extreme) |
|---|---|---|
| How it works | Forms a protective film on top of the timber (like a skin). | Soaks deep into the wood grain; does not form a film. |
| Look | Slight sheen; can look like a varnish. | Matte, natural finish; enhances grain. |
| Maintenance | High risk: Must be sanded back if it peels or cracks. | Easy: No sanding required. Just clean and re-apply. |
| Drying Time | Fast (recoat in ~4 hours). | Slow (requires 24+ hours to cure fully). |
| Best For | High-traffic areas needing a hard shell. | Long-term ease of maintenance and stability. |
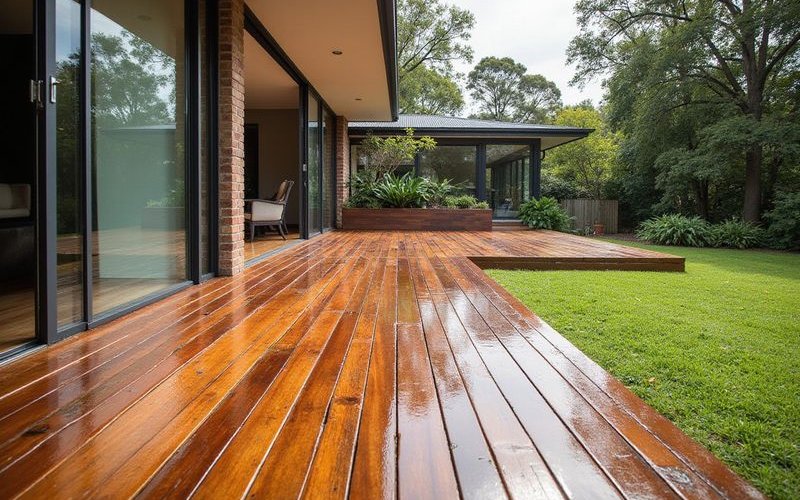
How to Test If You Need Oil
You do not need to guess. Perform the “Water Bead Test” on a dry day.
- The Test: Sprinkle a cup of water on the boards.
- Result A: If the water beads up and sits on the surface, your protection is intact.
- Result B: If the water soaks in and darkens the timber immediately, your deck is thirsty and needs oiling now.
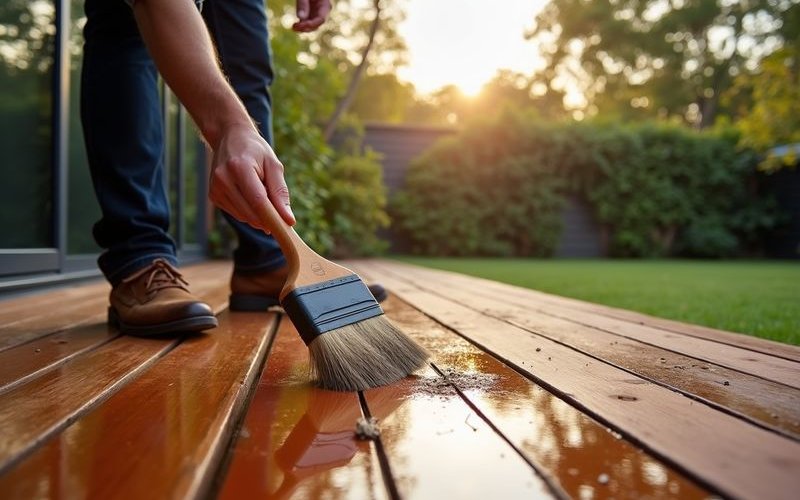
Oiling Process
-
Preparation Ensure the timber is bone dry. Even slight moisture trapped under oil can cause mould to grow inside the wood (blue staining).
-
Application Technique Use a lambswool applicator or a high-quality deck brush.
- Do: Apply thin, even coats.
- Don’t: Slop it on thick. Excess oil that doesn’t soak in will remain sticky and attract dirt.
-
The “Rag Off” Technique If you are using a penetrating oil like Cutek, wipe off any excess oil with a rag 30-60 minutes after application. This ensures a matte, non-sticky finish that cures properly.
Seasonal Considerations
Summer (The Hazard Zone)
High UV radiation is the enemy of timber lignin (the glue that holds wood fibers together).
- Action: Inspect for surface checking.
- Prevention: If your deck is fully exposed, consider a temporary shade sail during January and February to extend the life of the oil.
Autumn (The Prep Season)
This is your prime window for maintenance.
- Action: Apply a fresh coat of oil in late March or April.
- Why: This seals the timber against the coming winter moisture, preventing rot and fungal growth during the damp months.
Winter (The Dormant Phase)
Your main goal here is keeping the surface clear.
- Action: Regularly sweep away wet leaves.
- Warning: Wet organic matter left on timber for weeks will create stubborn black tannin stains that are very difficult to remove.
Spring (The Recovery Phase)
October is the ideal time to undo any winter damage.
- Action: Perform a deep clean to remove winter grime and pollen.
- Check: Look for any loose fixings or “popped” nails that may have shifted during the temperature fluctuations.
Common Problems and Solutions
Grey Weathering
The Fact: UV light degrades the surface cells of the timber, turning them silver-grey. The Fix: This is cosmetic. A solution of Oxalic Acid (deck brightener) can often restore the natural colour without sanding. If the greying is deep, a light sand (80 grit) will reveal fresh timber.
Cupping (Boards curling up at edges)
The Fact: This happens when the bottom of the board is wetter than the top. The Fix: Improve sub-floor ventilation. You may need to install vents in the side of the deck structure or improve drainage underneath. Sanding the tops flat is a temporary fix; solving the moisture issue is the cure.
Mould/Mildew
The Fact: Black spots that grow in the grain, usually in shaded areas. The Fix: Scrub with the sodium percarbonate solution mentioned above. Avoid bleach, as it only bleaches the mould’s colour but doesn’t kill the root system deep in the pores.
Extending Your Deck’s Life
Practical Upgrades
- Furniture Pads: Install high-quality felt or rubber glides on all chairs. Metal chair legs are the number one cause of scratches that break the oil seal.
- Pot Plant Feet: Never place pots directly on the timber. Use “pot feet” or risers to create an air gap, preventing rot circles.
- Matting: Place a door mat at the entry to the deck. This catches grit and small stones from shoes that act like sandpaper on your finish.
Cost of Neglect vs. Maintenance
It is easy to skip a year, but the financial data suggests otherwise.
- Maintenance: Annual cleaning and oiling materials typically cost $200-$300 for an average deck.
- Restoration: A full professional sand and restoration (required after 3+ years of neglect) typically costs between $55 and $75 per square meter. For a 40m² deck, that is a $2,200+ bill you can avoid with regular care.
When to Call Professionals
While maintenance is a DIY job, restoration often isn’t. You should call a professional if:
- You see “soft rot” (timber that feels spongy when poked with a screwdriver).
- The deck wobbles or bounces significantly when you walk on it (structural issue).
- You need to sand off an old acrylic coating (this requires heavy industrial sanders to get a flat result).
Worth the Effort
Regular deck maintenance takes time, but the reward is a beautiful outdoor space that lasts for decades. A few hours each year protects a significant investment and keeps your deck looking its best.
Need help with your deck? Contact us to discuss deck maintenance or restoration for your Melbourne home.